Thursday, April 3, 2014

A Week in My Kitchen: 4/3/14


I'm working on a house update post, possibly a couple, we've done a lot on the house in the past few months. But for today I'm joining up with Heather from Beauty That Moves for a post full of photos from my kitchen this past week (and a couple from outside the kitchen). 

A sampling of photos celebrating real foods and all the work that happens in the kitchen every day.

   *   *   *   *   * 


Thursday, December 12, 2013

White Chocolate Chip Scones


You guys, I've been holding out on you and I'M SO SORRY!  


I've been meaning to share this recipe with you for ages. This is my favourite recipe for, well, what I call scones. I don't precisely know what they are. They're definitely not your typical dense scone. They're light and fluffy and melt in your mouth. Seriously though, you guys, I'm in love. 

This are super easy to throw together and are just the right amount of sweetness to be really satisfying. I almost always put white chocolate chips in mine but these are also great with other mix-ins such as chips or dried fruit or both. 

I also think these could be done in a muffin pan successfully but haven't ever tried. If you do, let me know how it goes! 


White Chocolate Chip Scones
heavily adapted from MommyCoddle

Ingredients: 
2 cups all-purpose flour
4 tsp baking powder
¾ tsp salt
⅓ cup sucanat (or brown sugar)

6 tbs butter (melted or soft)
¾ cups milk
1 egg
1 tsp vanilla
½ tsp almond extract

1 to 1½ cup white chocolate chips


Directions:
Preheat oven to 350*. Mix dry ingredients into a medium sized bowl and wet ingredients in a separate bowl. Combine wet and dry ingredients and stir well. Dough will be really sticky Add mix-ins and drop by spoonfuls onto lined cookie sheet. Bake for 11 to 13 minutes. Makes about 12. 


Tips: 
If using brown sugar, I would mix it in with the wet ingredients instead of the dry. 

If you freeze the chips right up until you mix them in they don't melt down as much. Mine just live in the freezer all year round.

Serve these with a thick later of soft butter on them. Seriously, just trust me on this one.


Tuesday, November 12, 2013

Snow day


Goodmorning, everyone! Look at this! Last night we had our first snowfall of the year and it stuck. This has never happened in my memory and it was so exciting. It'll all be gone in a few hours but I'll enjoy it while it lasts!

I think I'm going to take advantage of our sunshine to turn on some good music and get some work done. I'm off to take photos of our reassembled bathroom while the light is good. Wish me luck!


Tuesday, November 5, 2013

Errand day

Our backroom on a sunny afternoon. I love southern windows.


Happy Tuesday, everyone! Today is my day with the car and that makes it shopping and errand day for me. I love getting to stock up on yummy foods and new library books every week. This week I picked up a couple of books and three cds! I can't wait to cook supper tonight with a new-to-me cd in the player. It's going to be a very good night!


Monday, November 4, 2013

House Update: Oct 26 thru Nov 3

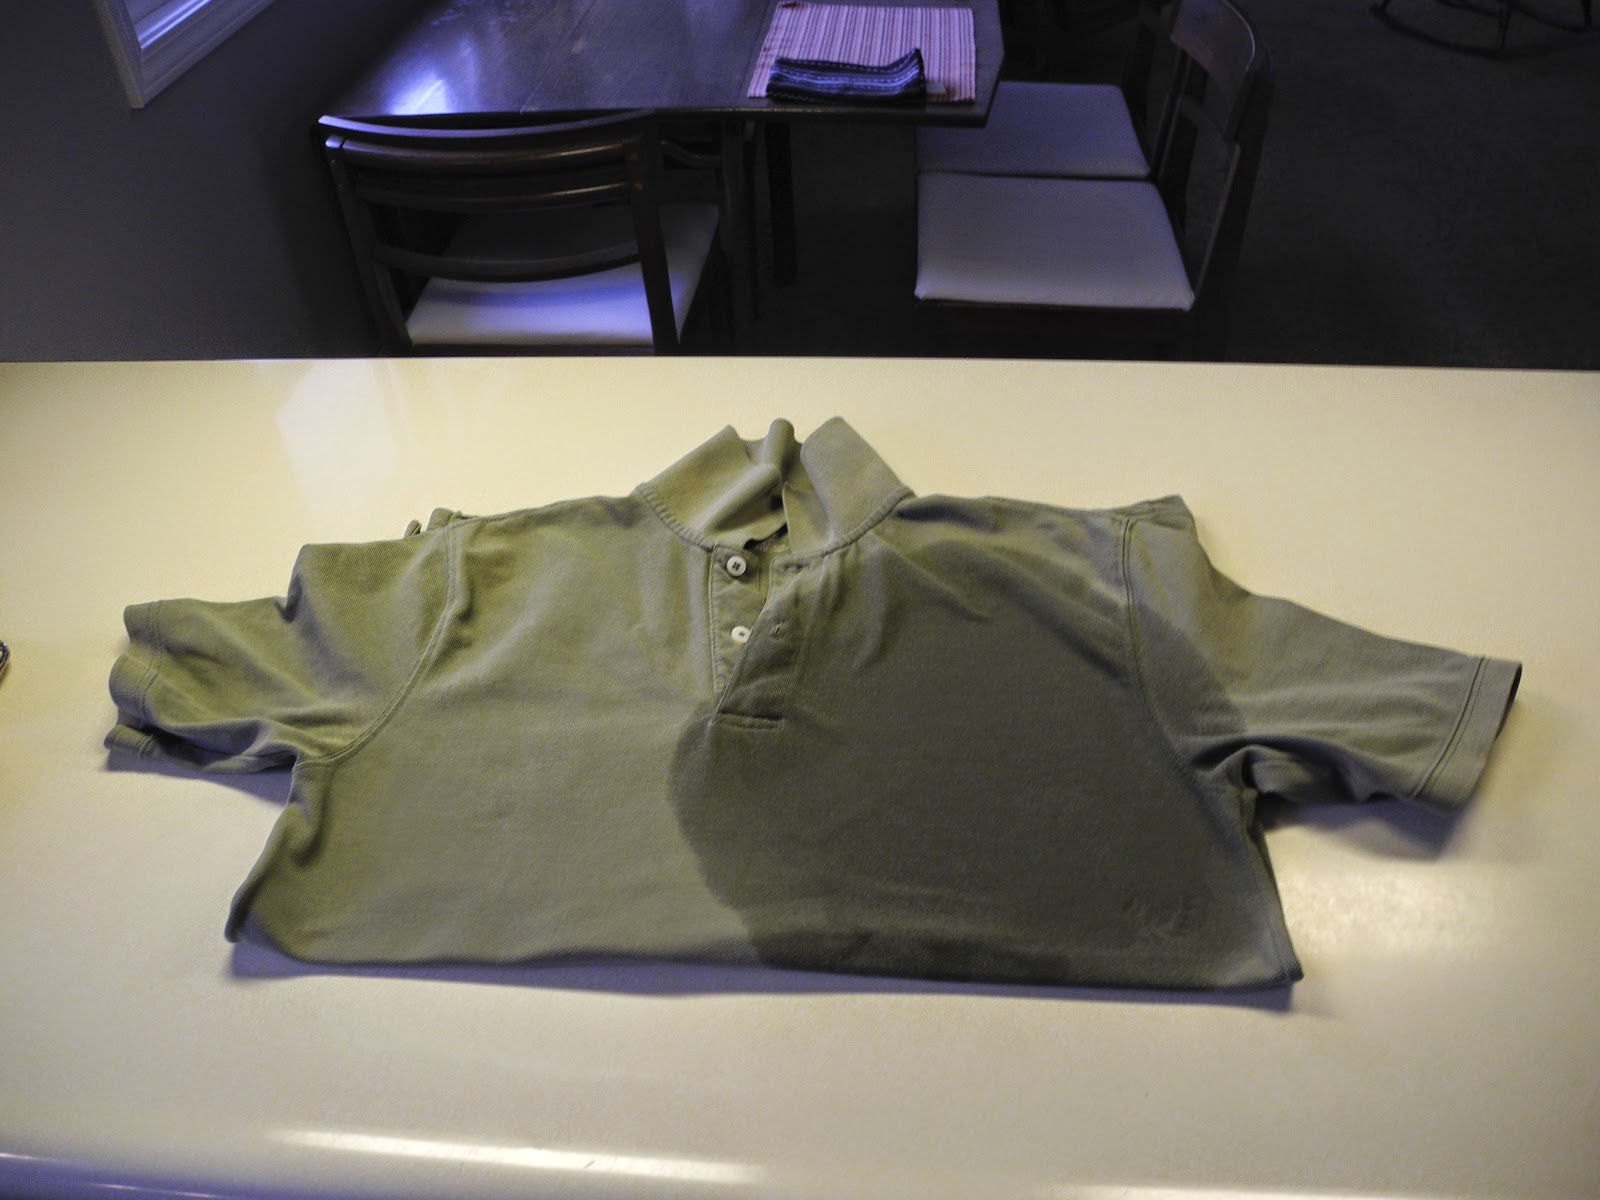
 I spent a lot of the past week looking like this


This past week was all about walls! Well, and about ceilings too. It started with this:


And this:


And ended up with this:


And this:


What all we did this week:
The weekend of October 26th & 27th we finally had a chance to start in on the bathroom ceiling. It was peeling and flaking before we moved in and had only continued to get worse. While Justin was at work on Friday I scraped the ceiling and got off ever bit of flaking paint and got the area ready for us to skim coat. After supper we got out the joint compound and mixed up a batch of skim coat and put the first layer on the ceiling. It went a lot faster and more easily than we thought it might. 


An hours work. 1/4 - 1/3 of the wall.


Justin had to work at 6am on Saturday morning so I decided to tackle the first coat of the big wall. After about 3 1/2 hours I had run out of joint compound. 


See the corner that didn't get finished?

Justin bought me more joint compound on his way home from work and Saturday afternoon I finished my little patch.

Sunday, after 24 hours of hardening, Justin sanded the ceiling in the bath and the big wall. After we had cleaned up the huge mess we mixed up more skim coat and put a second coat on the bathroom ceiling and wall.

Justin sanding the wall.


Monday, I spackled holes in the bathroom and patched the corners where the joint compound had chunked out. I also started patching areas in the kitchen and entry way. There's still plenty more to do but it's a start.  

After Justin got home from work he sanded the wall again and it is crazy smooth. It's going to look lovely after it's painted!

 The wall again. Isn't it gorgeous?!


And then this weekend, Nov 2nd & 3rd. We painted the bathroom! We decided to go with Zinnser Perma-White which is a mold and mildew proof interior paint. I'm sure it's full of all kinds of noxious chemicals but since this bathroom has humidity problems that we can't fix at the moment we decided to go with it.


 Justin putting on the second coat of white.


As you can see from the pictures at the beginning of this post, the walls previously were a pale green that didn't quite match the tile in the bathroom. What you can't see is that not only were the walls the pale green but so were the trim, window, and radiator. (We also learned that the bathtub and toilet used to be the same color green as the tile. We're really glad those were replaced before us though.) Since the tile is in good condition and we won't be replacing it anytime soon, we decided to just go with pure white for everything else. So that meant very little taping! But it also meant lots and lots of brushwork. I'm still not quite done ;-) Once I've finished up the last bits of painting and we've gotten a couple of other small projects done, we'll put the room back together and I'll take proper after shots of the bathroom. Look for a before and after post in a couple of weeks!


For anyone planning to take on a similar product:

This was the most helpful tutorial for skim coating that we found. As a whole, I found that skim coating isn't difficult. It's just tedious. And the sanding really really sucks. It makes a huge mess. But it's not hard. Just make sure you have a dust mask and saftey glasses.

And this is the paint we used. It's not expensive, about $25 for a gallon, and it went on well and has a very mild smell. Our light colored bathroom only needed two coats and we'll have used most of the gallon by the time I'm finished. I think we made a good choice.


Tuesday, October 1, 2013

The summer I became an adult

The house


 Bathroom before

Bathroom currently


Last meal in the little house (breakfast)


A new toy for us :-)


The view from my kitchen window

Tilling for next year's garden


New homeowners!


You guys, this is it. We finally did it. We bought a house. And not just any house. A really, really awesome house! I. am. so. excited!!! We've only been in the house for six weeks and already it feels more like my house than the little one every did. It's a house that I love and that I can dream in. We can do anything we want to it and that is a wonderful (and scary) thought!

I have so much to say about this house; stories to tell and pictures to show. Like the story of how we ended up buying a house when we weren't even going to start house hunting for another, oh, seven months. And how we ended up with this house in particular. And, of course, all the really fun stuff; the work we've done and all the things we hope to do to the house someday (although we have many more ideas than we do time or money!).

Any suggestions or tips for us as rookie homeowners and caretakers? We'll need all the help we can get!


P.S. Happy October 1st!!


Thursday, July 18, 2013

Four years ago


Just a few of my favourite photos from that day.


 Alternately titled "Wait, that was yesterday. Wasn't it?!?"


As the saying goes, 'Time flies when you're having fun'. And time has definitely been flying! I guess that must mean that we've been having fun! And, you guys, we have. Marriage is a blast! If I had known how much fun I would have being married to Justin on the day I met him then I would have married him in a heartbeat.

I'm not sure what I can say that doesn't sound like I'm bragging but I am seriously convinced that Justin is the best husband you could ever have. Ever. Tell me you have a better one and I'll call you a liar! (just kidding. mostly)

All I know, really, is that every year life gets better and better and I'm pretty sure it has to do with the handsome man by my side. I love you hon!


P.S. Don't I look silly doing everything with my floaty veil stuck to my head? I should have taken it off...
P.P.S. Also, aren't you impressed by our ability to relax and let someone else take care of all the little details? We're awesome like that :-)


Edit: Also, happy 100th post for the blog!